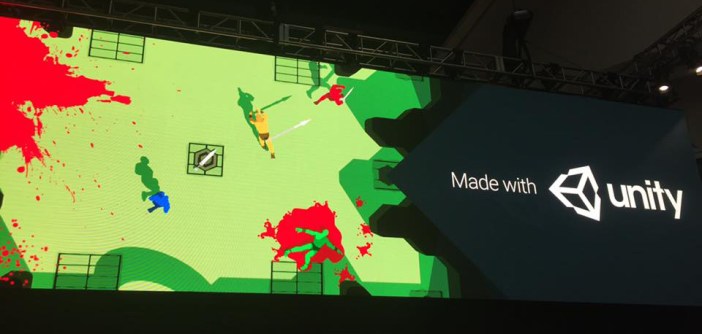
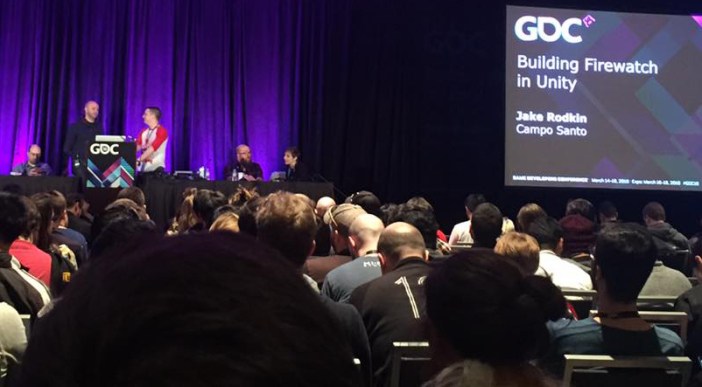
Last week several of our developers, including myself, were able to attend the 2016 Game Developers Conference. It was an excellent opportunity to promote the game and get feedback. Getting feedback from industry professionals and even some feedback from some unity representatives was extremely exiting.
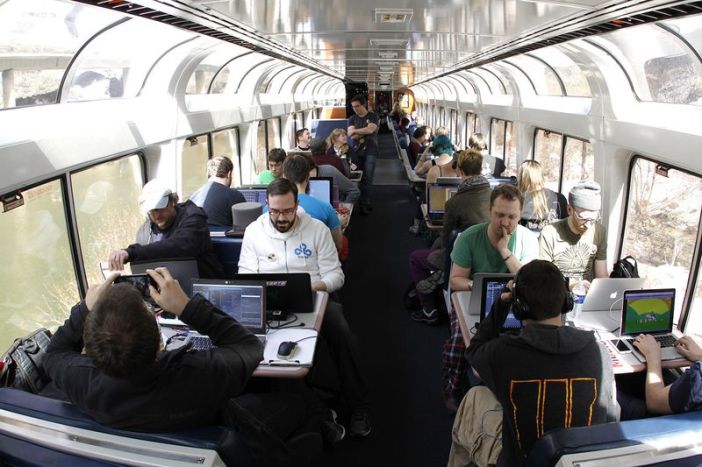
Before the conference even started our art lead Emily Dillhunt was able to create a game during the train jam on the way to GDC. She even collaborated with developers from Campo Santo to make the game ‘Discharge’!
On Tuesday I was able to attend the ‘level design in a day’ workshop along with our lead designer Mitch Clayton. The workshop involved a series of talks that revolved around creating more intuitive, creative, and fun levels and puzzles. Later in the week some of our developers were able to visit the Unity offices where they were able to get some of that valuable feedback.
All of that, and it still only describes a slice of what we were able to get done at GDC. We were able to meet a lot of good people, do a lot of networking, as well as have a lot of fun. Most valuable of all, we were able to get a fresh perspective on our game. Beyond that we’re back from GDC and ready to get started on finishing the game!
I am the lighting designer and one of the programmers of the team. I am going to talk to you about the lighting of Everend. I will walk you through the lighting from day one to the current development. Some of the sections that I will talk about are the baking process and the steps I take when baking the light for the game, some of the cheats I use to help keep the performance down while still keeping the lighting worthy of the game.
When we first started in the fall, we talked about the roles everyone would be doing. I have had almost eight years of experience in theatre lighting so I said that I would be interested in lighting and Emily our art lead said that the experience may be useful because lighting would be a big component of the game. At the time I was a little nervous; a programmer was about to step into the realm of artists, but I threw caution to the wind and spread my wings, then I jumped. I then remembered I am not Kaia and I do not have wings so there was that.
Having the experience in theatre was not going to guaranty that I would be able to do the things that we envisioned at that point. I spent the first few weeks working on tutorials and documentation about lighting in Unity, the engine we are using to make the game, after that I felt I had the tools necessary work in Unity. That brought up the next big question though, what should light look like in a cave? I wanted to make sure that the light was realistic looking and would interact with the art of the levels positively. The trip to crystal cave that the team did in the fall was a big help to that. It was such a big help that we wrote a blog post about that, you can find that here: https://thatowldevblog.com/2015/11/19/crystal-cave/. Taking what we gathered there we felt more confident about the lighting. As Mitch and Emily worked on building the levels I talked with them about what they wanted for lighting. After the first level was finished being boxed out and was starting to be set dressed I took some screen shots that Emily pasted together and started marking it with locations of lights and what she wanted those lights to do. This is what I was handed which I then used to place the lights in the game.
I started to experiment with a few different lighting settings including a shader setting called emission. Emission uses a map that is in greyscale which shows which sections emit light and which ones don’t, this saves on lights in the scene and are just as diverse as regular lights. One major thing that I determined would make the performance of the game faster was to bake out as many of the lights as I could before we built the game. Baking means that we take lights that are set to baked or mixed and use the light that they emit and shine and project it onto anything in the scene that is set as static, these are things that we are not expecting to move at all walls, floors, and ceilings are examples of this. Before baking and the placement of the lights we have this: After the placement of lights and baking those out we have this:One thing that you may be asking yourself is, what about Kaia? She moves around? Baking will not affect her, or will it? A cheat that allows me to get away with having most of the lights be set to baked is light probes. These probes grab the light that is shone on them and saves it as a small map. Those probes then communicate between their close neighbors and when a dynamic object moves through those probes the ones closest to it form a tetrahedron, a polyhedron composed of four triangular faces, and will apply the light data stored by those probes to the dynamic object. One big thing to keep in mind is that if those probes are not placed very close together or there is a major change in light between two probes which are not adequately placed it can cause slight problems with the dynamic object. When I place probes I have to make sure that I place enough probes in major changes of light to give the feel that the dynamic object is being properly affected by the lights. Here is a picture of the probes in the first area of the first level. The yellow spheres are the probes themselves the purple lines are the connections between those probes.Yeah that is a lot of probes but it is important that they are there, because without them Kaia looks like this.Now I know what you are thinking “that does not look too bad” but when you compare it to this.It looks a lot more realistic. Kaia looks like she is being affected by the sunlight and we are saving on performance because there are less dynamic lights in the scene. Here is a look at what it looks like in the scene view instead of the game view of Unity.
The yellow area is that tetrahedron that I was talking about earlier. You can see the greyish spheres that are in the area are those yellow spheres from earlier and they are showing how the lights are affecting them really well.
Now that I have rambled on for a bit I will talk about the actual baking process and the steps that I take to bake out the lights for a scene. In Unity there is a window for lighting with a large amount of settings. I am not going to go into detail about each individual setting but I will go into detail about a few of them. One of the big things I use to add color to the scene without using a lot of lights is the ambient source. I use a gradient of three colors that I get from Emily. I spent a few more weeks working on getting the settings for baked global illumination ironed out. The settings that I came up with allow me to quickly turn around the lighting and show Emily and Mitch what the scene looks like with lighting in. Here is photo of the quick turnaround lighting.In the baked GI section there are two settings that I do not have set when I do the quick turnaround they are very costly in the time department. The first of these is final gather to improve the quality of the light ray tracing is used at the last bounce that the light makes it adds to the visual quality significantly. Here is what that looks like.The second of the settings is ambient occlusion. Since the light will hit everything indiscriminately corners and indents will be lit just as much as the flat surfaces. This will determine how large the contrast is and how far those shadows will go out. Here is what that looks like. We are nearing the end don’t worry. Thanks for reading all the way through I hope that I shined a little light on how the lighting is done in the caves of Everend. Taking all the things I talked about in the last section combining the quick turnaround, the final gather, and the ambient occlusion into the game we are given this which is the final result of the game.
Level Design is a really important process in the development of a game. Without level design we would only have a pretty space to walk around in. It is much more than just drawing a map that looks cool. This isn’t solely the visual experience but is the way the map, puzzles, and visuals come together to create a cohesive picture. Level design is the process of creating the world that the player experiences. It takes a lot of work and iteration and as a team we have done much of that.
We start with discussing what game elements should be in each level. A list is created of all of the aspects that will make the level unique: the kinds of puzzles, what obstacles the player should come into contact with, as well as the visual aesthetic of each level. The visual aesthetic is extremely important. It tells us the basics of what we can and can’t do. For example, the water themed level should have a lot of puzzles that involve water and swimming, but should not include anything fire or lava related. This limits what we can do aesthetically and what we can do with puzzle design.
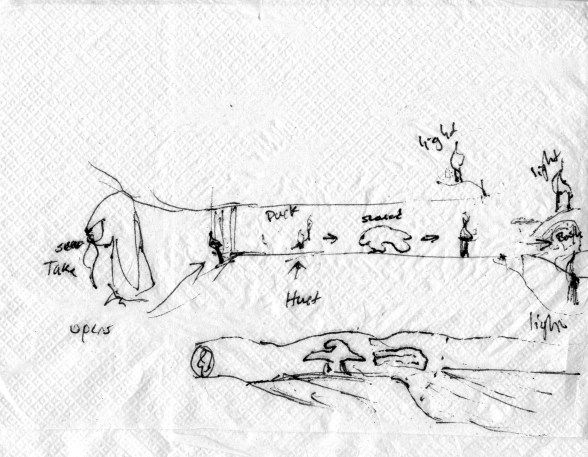
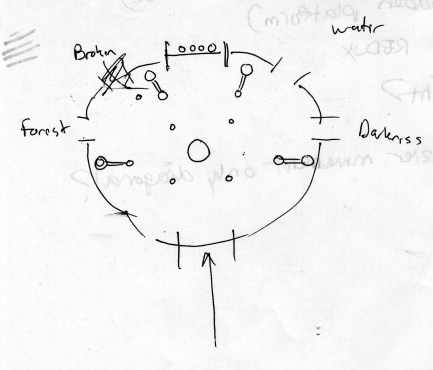
A very early example of going through each level and deciding the elements that will be included.
After the list of all of the elements that should be in each level is created, we begin drawing out maps. This allows us to think visually about the flow of the level design. Drawing out the maps helps us to begin designing the puzzles, thinking through the steps that make a puzzle fun but challenging. There needs to be a variety of puzzle difficulty. Some puzzles need to be difficult and others that the player can solve pretty easily. Additionally, we need to work on the flow and order of the game. Having important concepts introduced to the player in early levels is important so that he or she can successfully navigate more difficult levels later in the game. At the early stages there is no right or wrong design. Many of the best ideas come from the most random encounters.
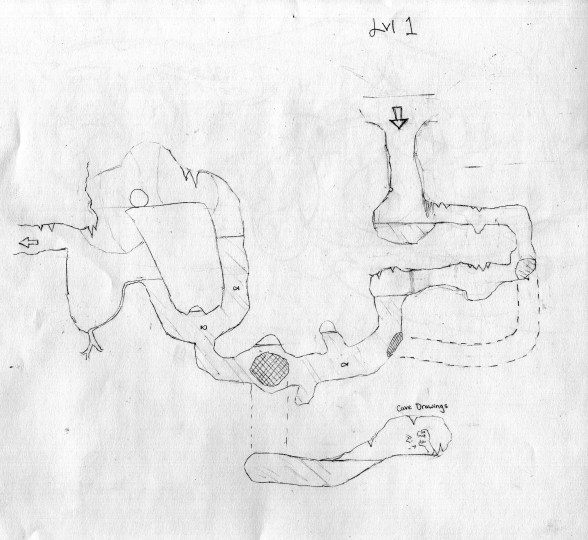
Great ideas can come about at any time hence this napkin drawing.Some early pencil level drawings of the water level.
Our team comes together after coming up with much of the level design to look at the positives and negatives of each other’s ideas. Working as a group really helps the overall decisions making. Everyone sees things differently which allows for a lot of unique and interesting discussions which lead to better design overall.
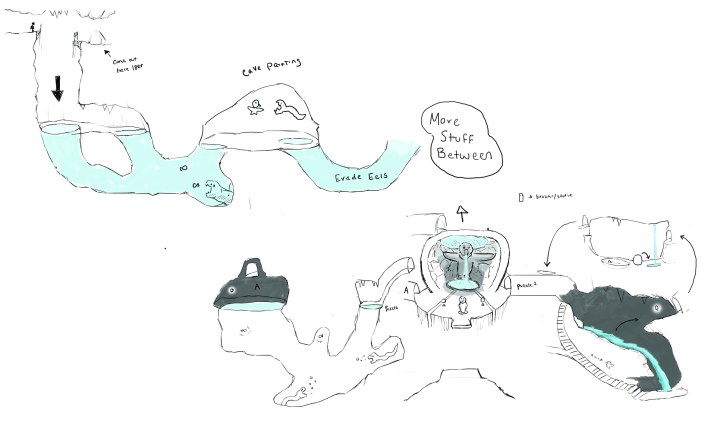
Updated water level design after team discussion.
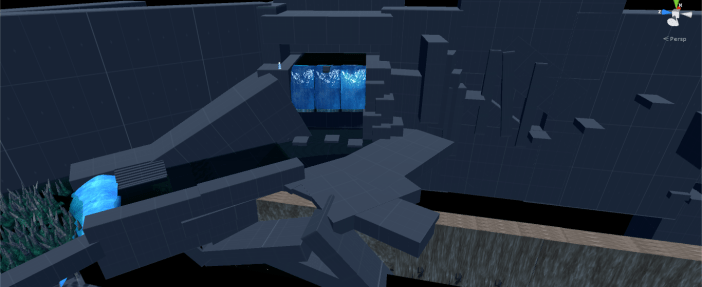
After we have a good idea for different puzzles we begin to build everything out in Unity. Gray boxing is the process of creating a level through the use of basic geometry. It lets us build prototypes of individual puzzles and whole levels that our team is able to play test. We want to make sure the gray box experience is what we want the actual experience to feel like. If a puzzle isn’t intuitive, fun, or working as intended, it will not work as fully functional play experience even if looks pretty. The gray box stage allows us to do lots of testing to refine our game before we start putting in tons of work to a level or area that might get cut from the final game.
At this point we go into each level and do a rough visual pass to make it feel similar to the rest of the game. The visual pass is the process of going through and replacing all of the gray boxes or in our case blue boxes with real assets that the art team has been working on.
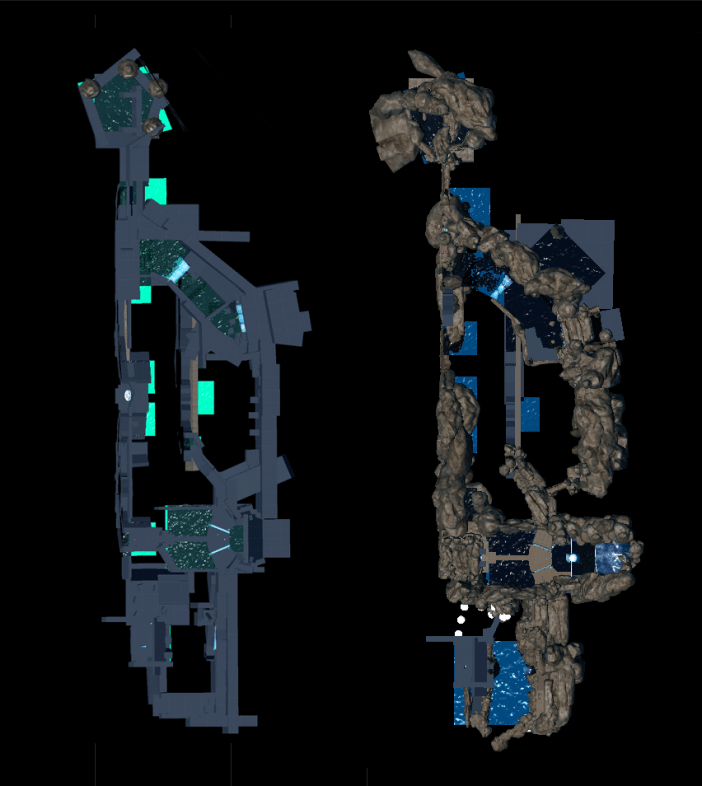
This is a great example of gray boxing and first pass on set dressing. You can see the drastic difference between each screenshot.Top down view of the water level. Left: “Blue” Boxed. Right: First set dressing pass.
After the set dressing pass we push it on to our lighting guy to do an early lighting pass. The lighting pass is an early test of what the overall lighting of the game will look like. This allows the artist to have a better idea of what the space will look like while they do the final set dressing. Once the lighting pass is done we can go back into the space and really refine the visuals. We work to make each level feel unique but also have a cohesion across the game. This is when we introduce more of the individual models of specific pieces needed for each area. For us this includes owl statues, mushrooms, plants, and more.
Our most recent challenge for level design has been reworking our temple level. The temple level is a large temple created by the ancient owl civilization. It is supposed to be grand but dilapidated. It is introduced early in the game and is where you access other levels. It has been a challenge to design this place both visually and mechanically. Originally, this space was supposed to be its own completely contained level. Our project scope was too large for the amount of time we had and we had to make compromises. In order to keep the most important area of our game, without having to cut an entire space, we decided to do some massive changes to how temple level would work. Instead of being complete level it is now a hub space. This allows us to keep the space for use as the end level of the game without having to change much of the original design.
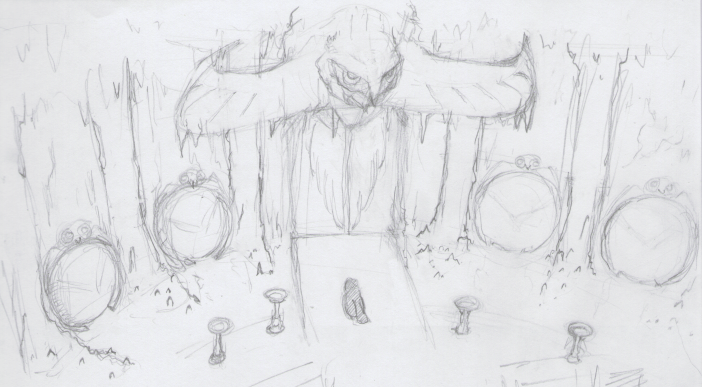
Above is an early design for what the space was originally supposed to look like. Before the redesign you were supposed to do a small puzzle that returns you to an environment similar to each of the past levels you encountered and offers you a chance to further refine your understanding of the puzzle in each area. After completing all of them you would unlock the entrance to the temple.
Thanks for reading and I hoped you learned a lot about how we do our design. Also above is a sneak peak of what our temple hub might be looking like.
It’s not all fun in games during the development process: while the majority of the time things run smoothly, every development team has it’s share of bugs and bloopers. We’d like to share ours with you, in the hopes you’ll get a chuckle out of it! Now that you know all of the tasks and people involved in making Everend fully realized, it’s time to show you some of the things that can go awry along all parts of the pipeline. Equal parts hilarious and frustrating, we hope you enjoy some of the unexpected, confusing, and downright weird issues our coders and artists have to iron out before the game is released.
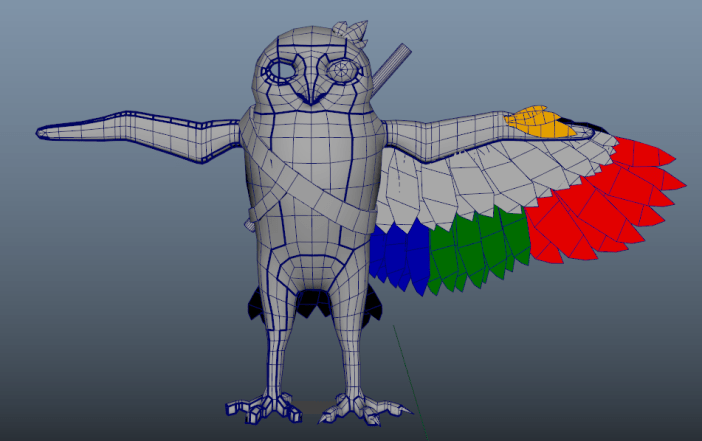
There was that one time Kaia was a robot:
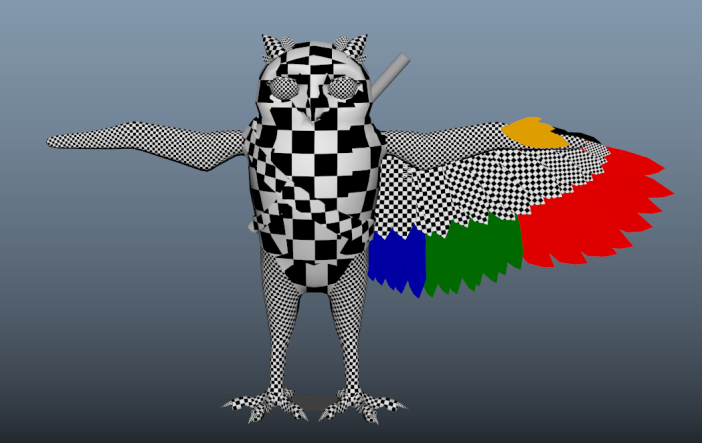
And then afterward a strange, checkered alien.
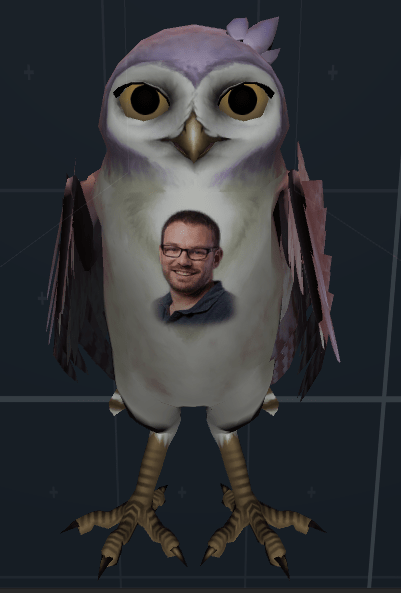
After that, her textures weren’t quite right…
But that’s okay, we all know true beauty is on the inside! …Right?
Then Kaia was in motion which created it’s own set of problems, like her unquenchable love for river dancing…
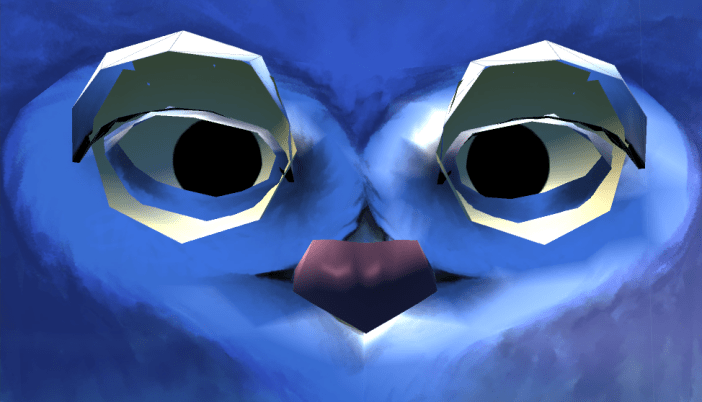
As well as her tendency to occasionally leave some pretty important things behind.
We’re making a horror game now I think,
And I’m not even going to pretend I know what’s going on here.
All in all, bloopers and bugs aside… Development is running smoothly and we’re well on our way to a beautiful, exciting final product. We’ve had our share of laughs and groans along the way, but it’s all part of the creative process. After all, nothing ever good came without a little dancing, suddenly turning into a robot, or without leaving important facial features behind. Or something like that.
We look forward to having you play! Kaia does too.


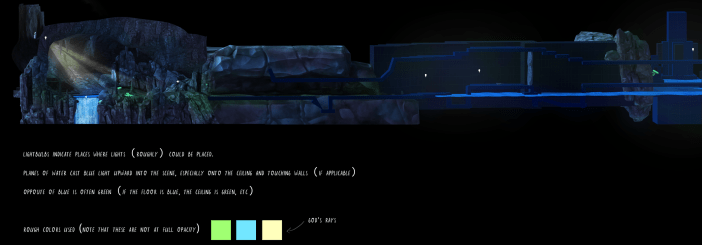 This is what I was handed which I then used to place the lights in the game.
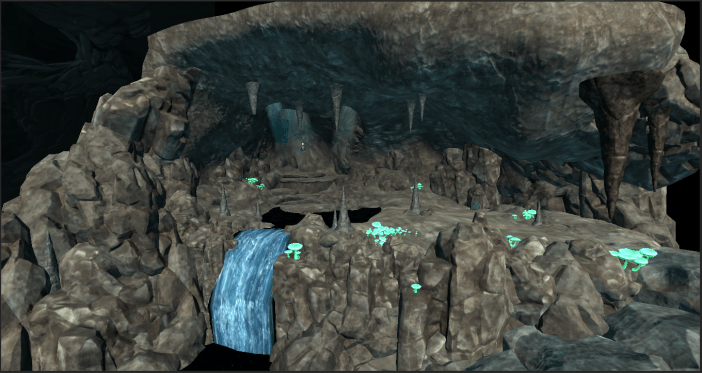 After the placement of lights and baking those out we have this:
 One thing that you may be asking yourself is, what about Kaia? She moves around? Baking will not affect her, or will it? A cheat that allows me to get away with having most of the lights be set to baked is light probes. These probes grab the light that is shone on them and saves it as a small map. Those probes then communicate between their close neighbors and when a dynamic object moves through those probes the ones closest to it form a tetrahedron, a polyhedron composed of four triangular faces, and will apply the light data stored by those probes to the dynamic object. One big thing to keep in mind is that if those probes are not placed very close together or there is a major change in light between two probes which are not adequately placed it can cause slight problems with the dynamic object. When I place probes I have to make sure that I place enough probes in major changes of light to give the feel that the dynamic object is being properly affected by the lights. Here is a picture of the probes in the first area of the first level. The yellow spheres are the probes themselves the purple lines are the connections between those probes.
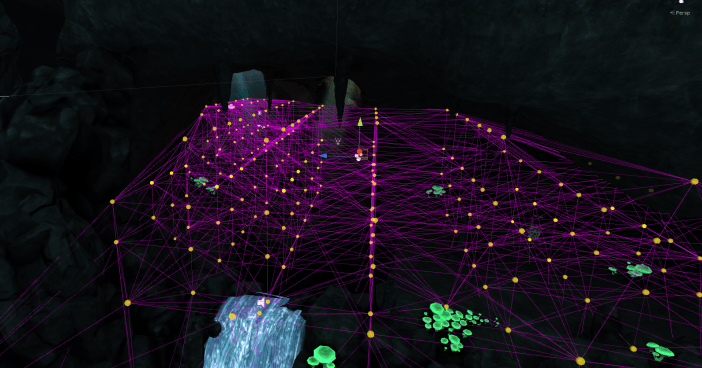 Yeah that is a lot of probes but it is important that they are there, because without them Kaia looks like this.
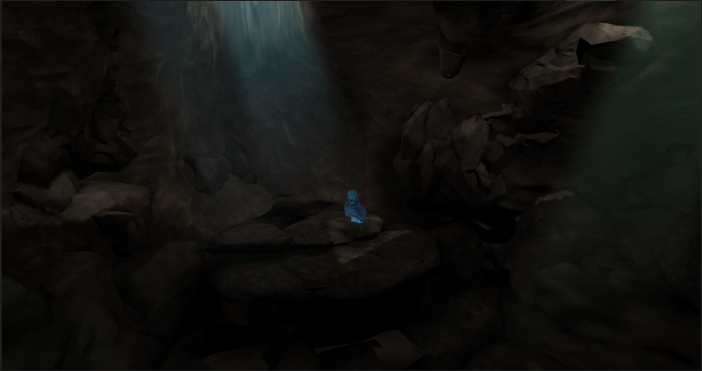 Now I know what you are thinking “that does not look too bad” but when you compare it to this.
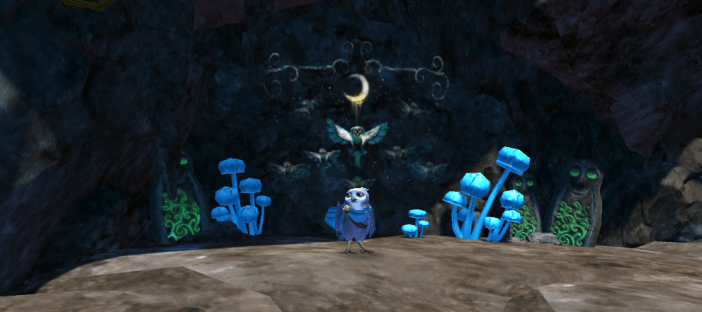
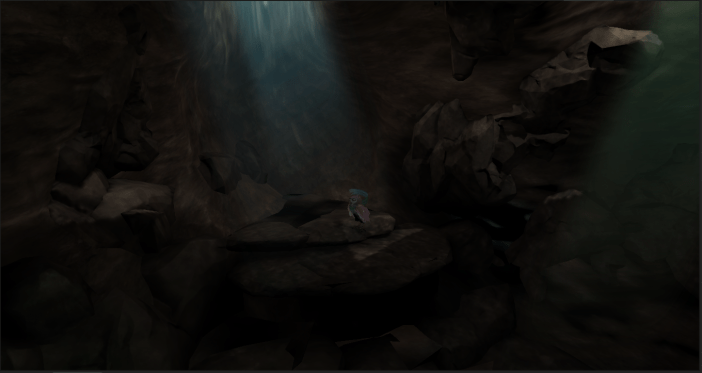 It looks a lot more realistic. Kaia looks like she is being affected by the sunlight and we are saving on performance because there are less dynamic lights in the scene. Here is a look at what it looks like in the scene view instead of the game view of Unity.
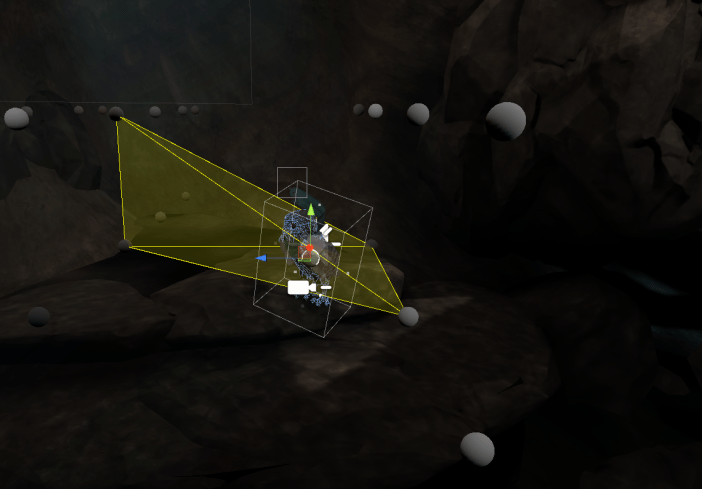
 The second of the settings is ambient occlusion. Since the light will hit everything indiscriminately corners and indents will be lit just as much as the flat surfaces. This will determine how large the contrast is and how far those shadows will go out. Here is what that looks like.
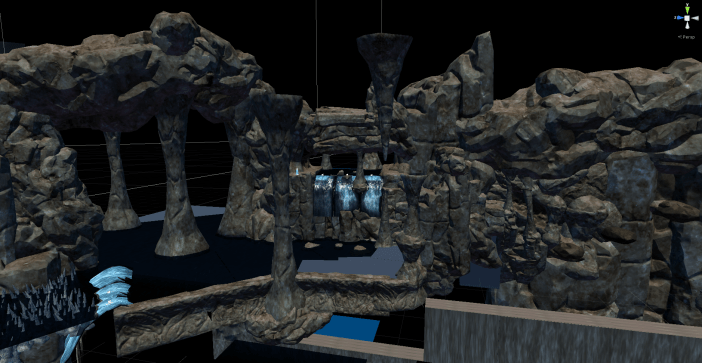
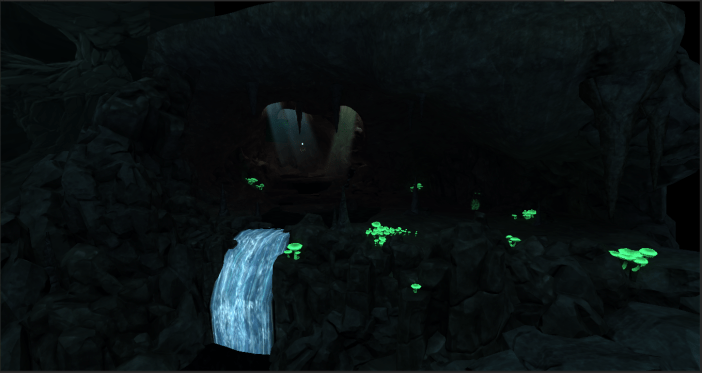
  We are nearing the end don’t worry. Thanks for reading all the way through I hope that I shined a little light on how the lighting is done in the caves of Everend. Taking all the things I talked about in the last section combining the quick turnaround, the final gather, and the ambient occlusion into the game we are given this which is the final result of the game.